WordPress Development Workflow in 6 Easy Steps
I am an independent developer and creating a simple WordPress development workflow has been a challenging topic for me. What I needed was a way to develop a new site locally and easily move it to a the production server when it was ready to publish. I also needed a way to test the site on the same server to make sure everything was working properly as well as for the client to review and comment on the progress of the site. I also did not want to make any major changes on the production version, so I needed a workflow to make changes and update the production server. Currently, the tools I use to accomplish this are MAMP (I develop on MacOS, so this package gives me Apache server, MySQL server and PHP), and the All-in-One WP Migration plugin. This will work with WAMP and should work with XAMPP.
I originally set up my workflow manually by installing WP on my development computer, adding an entry to my hosts file to map the development domain (like dev.yourdomain.com) to the localhost and start development. When I was ready to upload the site, I created a folder on the production server called staging, created the subdomain (staging.yourdomain.com) and installed WP in that directory, uploaded the wp-content directory to the new server, ran a series of queries on the local database to change the URL in the database, exported the database and then then imported the database to the production server. I also password protected that directory to keep search engines from crawling the site and the occasional visitor that stumbled onto the subdomain. I would then have to go through this again when I was ready to go live with the production version. That worked fine, but was a bit more complex than I wanted and prone to error.
A Simpler WordPress Workflow
This is my new, simpler workflow:
- Install WP on the local machine and create an entry in the hosts file that points to the local machine using a unique subdomain (127.0.0.1 dev.yourdomain.com).
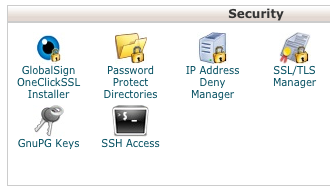
- Install the All-in-One WP Migration and the Password Protected plugins (if desired). If you are using a hosting account with cPanel, you can instead use the “Password Protect Directories” function located in the Security section.
- Create a subdomain on the production server (staging.yourdomain.com) and install WP in that directory.
- Install the All-in-One WP Migration plugin on that installation.
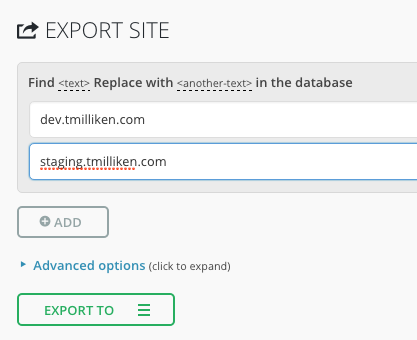
- In the local installation click on Export in the All-in-One WP Migration plugin. In the find section, put dev.yourdomain.com and in the replace section put staging.yourdomain.com. Click on EXPORT TO and select FILE. This will create a backup of your wp-content folder and database with the url changed to the staging domain.
- Log into the staging installation and select Import in the All-in-One WP Migration plugin, Select IMPORT FROM and then FILE and select the export that is on your local computer (it will have dev.yourdomain.com in the name). When you start the upload, just follow the prompts on the screen. This will overwrite your database and wp-content folder on the server. The users will now be the users from the dev.yourdomain.com installation (the users are part of the WordPress database).